Windows 10 introduced the world to simplicity as a means of achieving success. It didn’t just build on the achievements of the OS’s past; it completely wiped the failure that was Windows 8 and 8.1 from users’ minds. Rumor has it that’s why there was never a Windows 9; Microsoft wanted to show the world that it was reinventing the OS, not just trying to fix the Windows 8 ‘optimized for touch screen’ mess. With it shipped all sorts of new utilities to make life easier. One of them was the ability to schedule an automatic shutdown.
Recently, Windows 11 has arrived with its sleek, new, almost transparent look. An OS truly built for the devices of the future, not just the technology of now. Windows 11 promises a brand new look and feel for Microsoft users, but luckily, it hasn’t done away with the functionality of Windows 10. Therefore, most of the utilities, like scheduling an automatic shutdown, are in the same place they were on Windows 10.
Automatic shutdown in Windows 10 and 11
Below we’ll take you through three ways to achieve an automatically scheduled shutdown on both Windows 10 and Windows 11. You’ll truly have your pick of processes and utilities when you reach the end of this article. Luckily, much like the processes themselves, this article isn’t all that long. No TL: DR necessary!
Method 1: Task scheduler
We’ve included screenshots of how to do this in Windows 11, but the Windows 10 procedure is identical. Follow the instructions just as you would in Windows 11, and you’ll achieve the same results.
Step 1: Open an App
Select Start, search for Task Scheduler, and hit Enter to run the app.
Step 2: Create Basic Task
Select Create Basic Task and then give it a name and description. We’d suggest something simple like ‘Automatic Shutdown’ and ‘This utility will automatically shutdown this device.’
Step 3: Tweaks
Now you need to choose when you want the process to start. Then, simply instruct Task Scheduler how frequently you’d like the utility to run.
Step 4: Date and Time
Next, you’ll choose the date and time the task should start. Confirm by clicking Next.
Step 5: Pick a Function
Now head to Start a Program from the list of actions provided, and click Next.
Step 6: Pick a Program
Hit Browse and search for C/Windows/System32/shutdown.exe. Type’ -s’ into Add Arguments and then hit Next.
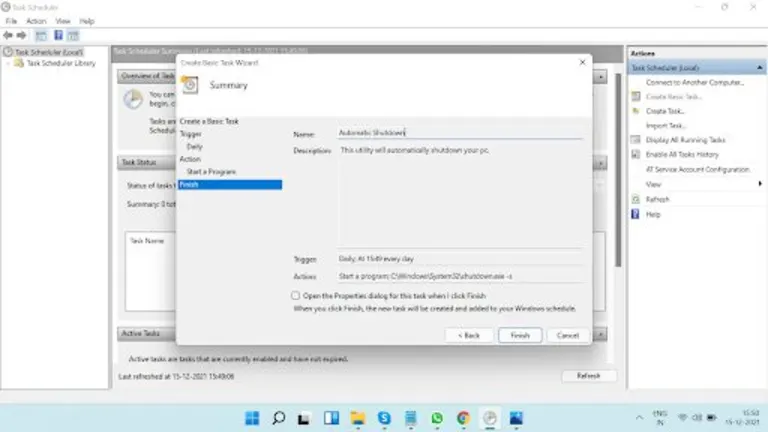
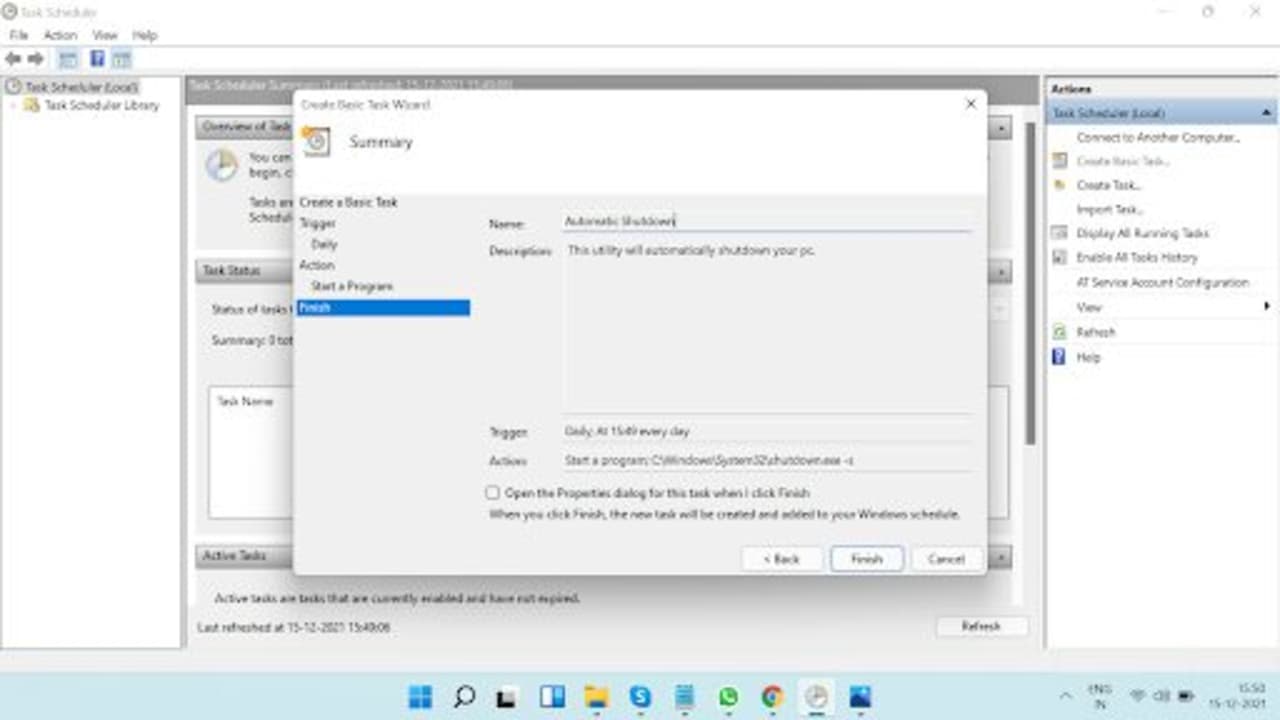
Step 7: Finish
Select Finish to complete the setup of your brand new task.
Method 2: Command prompt
Step 1: Open Command Prompt
To start off, you’ll need to open the Command Prompt utility. Simply hit Start and search for Command Prompt in the dialogue box.
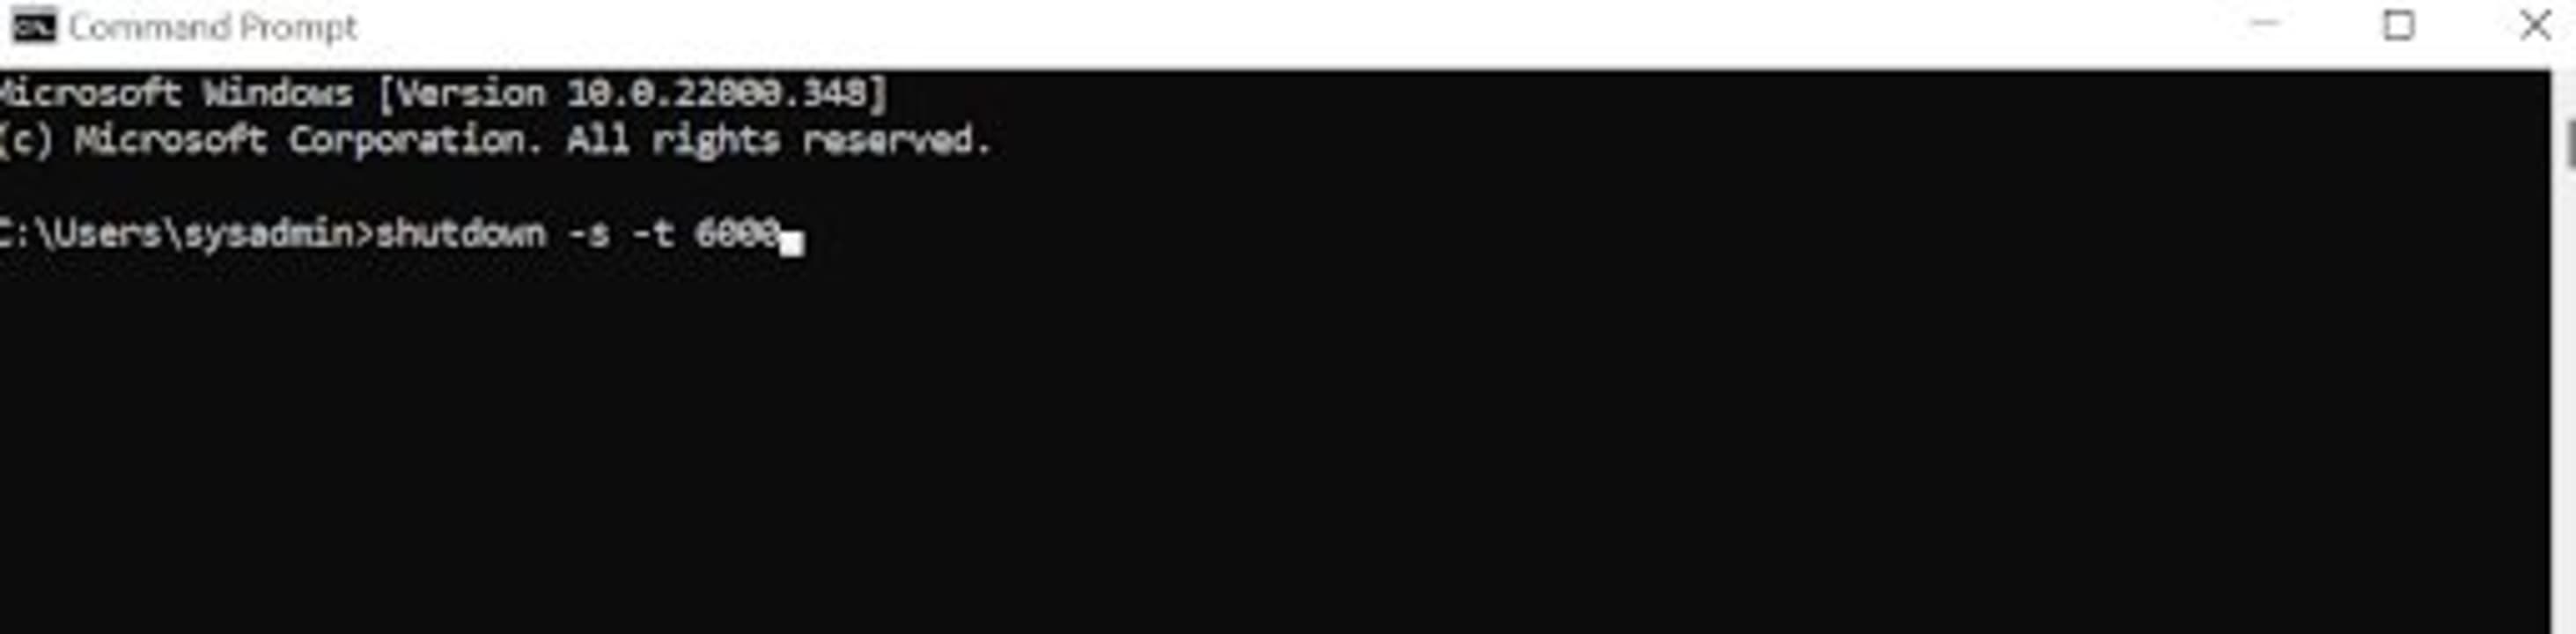
Step 2: Type a Command
Once you’ve opened Command Prompt, type in ‘shutdown -s -t <number of seconds>’ and hit Enter. You need to use the number of seconds exactly, so if you want to shut your device down automatically after 100 minutes, type in ‘shutdown -s -t 6000’.
Use a desktop shortcut
Step 1: Right-click Anywhere
The first thing you need to do is right-click on an empty section of your screen. This will open up a menu interface. Hover your cursor over New and then click on Shortcut when the second menu interface appears.
Step 2: Type a String of Commands
You’ll see a pop-up next asking what item you’d like to create a shortcut for. In the dialogue box, type ‘C:\Windows\System32\Shutdown.exe‘, then hit Next.
Step 3: Name Your Shortcut
It’s now time to name your Shortcut. We’d suggest something obvious like Automatic Shutdown. Click Finish, and you’ll have created a shortcut!
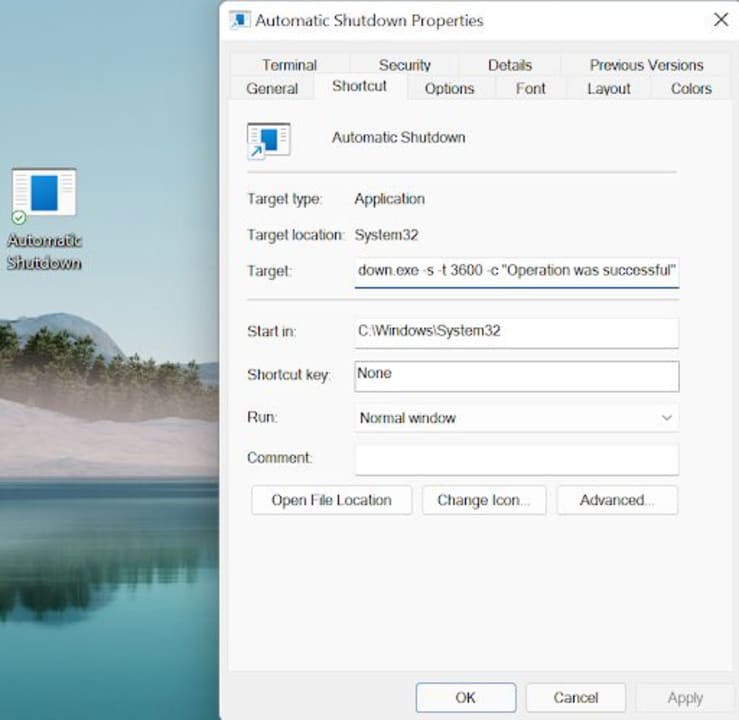
Step 4: Tweak a Few Properties
You’ll see your new Shortcut appear somewhere on the left-hand side of your screen, complete with the snappy name you chose in step 3. Beam with pride for a few seconds, and then right-click on it and hit Properties. You’ll notice a few blank spots in the new box. In the Target input box, type’ -s -t 3600 -c “Operation was successful”‘, this means that Operation was Successful is the text that you’ll see when the task is complete. If you’d like, you can replace 3600 with any length of time, for instance, 100 minutes, 6000 seconds, that we used in method 1.
Take your pick
Microsoft gives you quite a few options for the many tasks and processes its OSs let you perform. This is one way Windows 10 and 11 let you take control of your productivity. The best thing about Microsoft’s most successful operating system ever, and its younger contemporary, is that both systems are still so similar in their execution.
Yes, Windows 11 introduces a new look and increased productivity integration to the Microsoft stable. Still, most of its core processes, commands, and utilities are the same as the ‘old reliable’ Windows 10. This means users can upgrade Windows 10 to Windows 11 with ease, and rest assured that they’ll be able to initiate all the processes they’re used to.