Microsoft’s Windows 11 operating system supports automated recovery, but it may fail. A recovery drive, which can be created using any USB device that has at least 16 Gigabytes of storage, gives users access to recovery options.
Windows 11 is a stable operating system most of the time, but there is a chance that you experience a catastrophic failure. The failure comes in different forms, e.g., when a Windows update goes wrong, after a power outage, when malware strikes, or when hardware components fail.
Windows 11 may refuse to boot after such a failure. The automatic recovery functionality kicks in at this stage. Sometimes, it may fail to load or fail to restore the system.
This is the point at which many users start from scratch. Without backups or a recovery drive, reinstallation may be the only option.
Reinstallation of the operating system is a lengthy process. You may lose access to data. A recovery drive may restore access to the system in that event.
How to create a recovery disk for Windows 11
You may create a recovery disk at any time in Windows 11, provided that you still have access to the system. Windows 11 includes a built-in tool to create a recovery drive.
The only requirement is a USB drive or stick with a storage capacity of at least 16 Gigabytes according to Microsoft. The USB drive does not need to be empty, but all of its data will be erased in the process. A faster drive may speed up the copying significantly.
It is important to note that personal files and software installations are not copied to the recovery drive. A suitable backup solution, such as Backup & Recovery 14 Free Edition or Macrium Reflect, should be used for that purpose.
Creating the recovery drive
Close all open programs before you start the process. You may want to install Windows updates as well.
Launch the Create a Recovery Drive Program

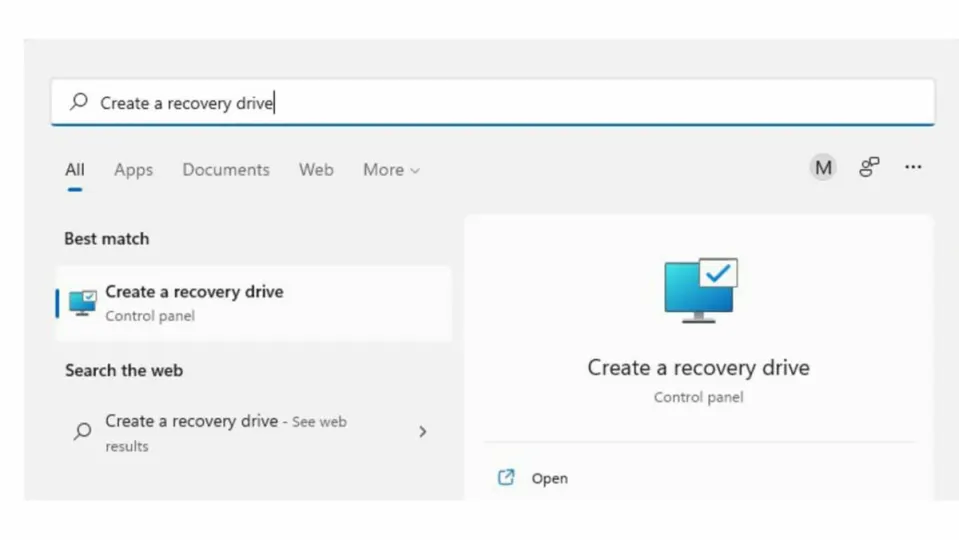
Open the Start Menu, type “Create a recovery drive”, and select it to start the process. Confirm the UAC prompt that is displayed by selecting “yes”.
Configuration and connection of the USB device
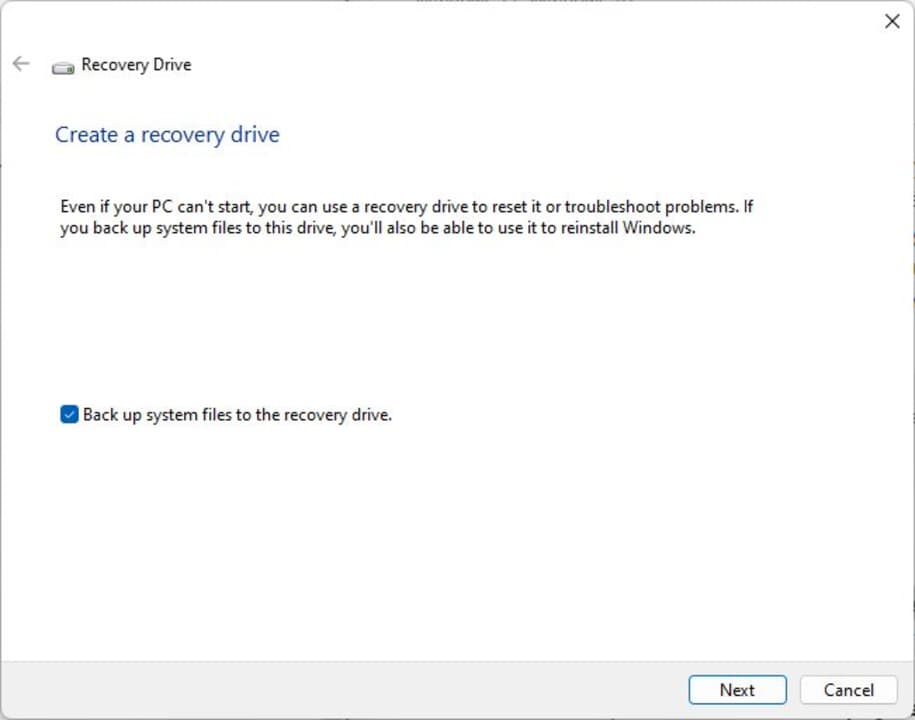
Connect the USB device to the PC. Select the “Next” button when the Recovery Drive program window opens. Keep the default option to back up system files to the recovery drive enabled. The backup enables you to reinstall Windows 11 in the event of a catastrophic failure.
Select the right USB device
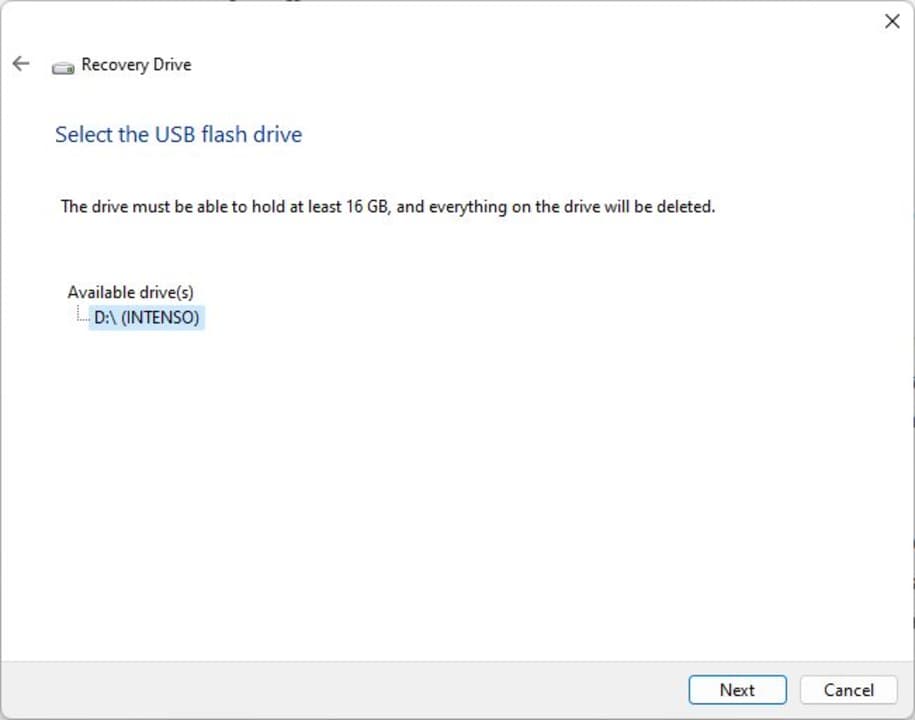
Windows scans the system at this point, which may take a moment to complete. The operating system displays all available drives for the creation of the recovery drive after the scan. Select the drive and then next to proceed. Only removable USB devices are displayed.
Confirmation
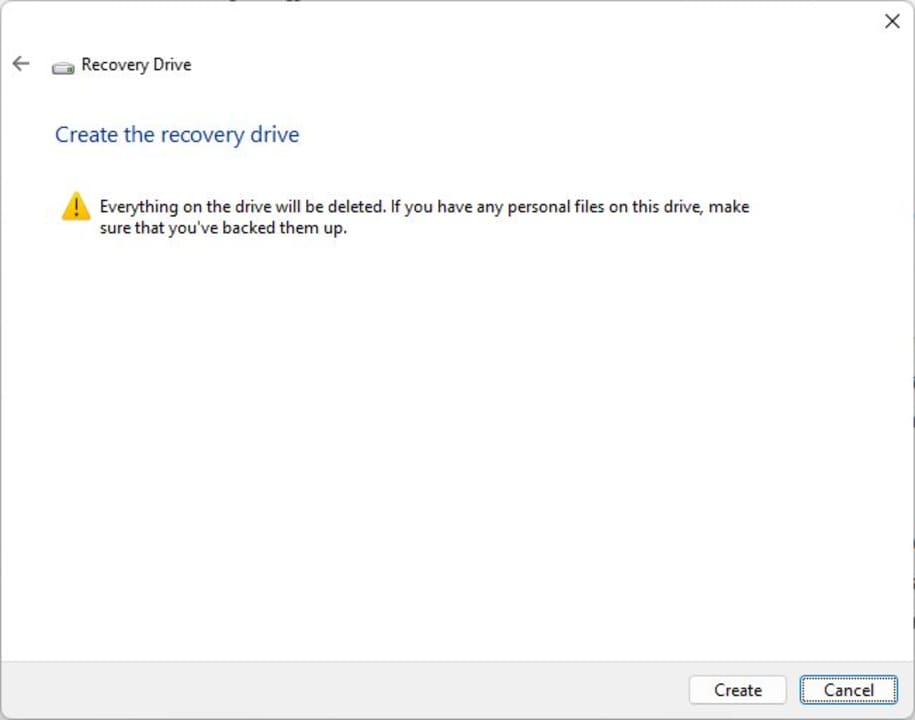
The process deletes all data on the drive. Select the “create” button on the warning screen to proceed with the creation of the recovery disk.
Creation of the recovery disk
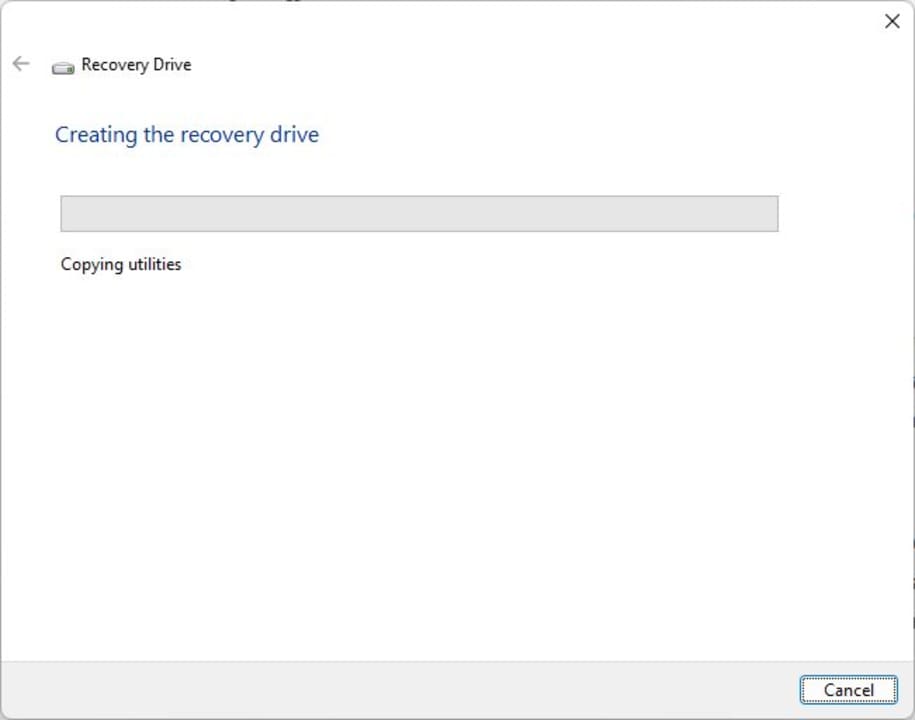
Windows 11 creates the recovery disk at this point. The process takes a moment to complete, and includes formatting of the drive and the copying of data to it.
It may take an hour or more to create the disk.
The final step
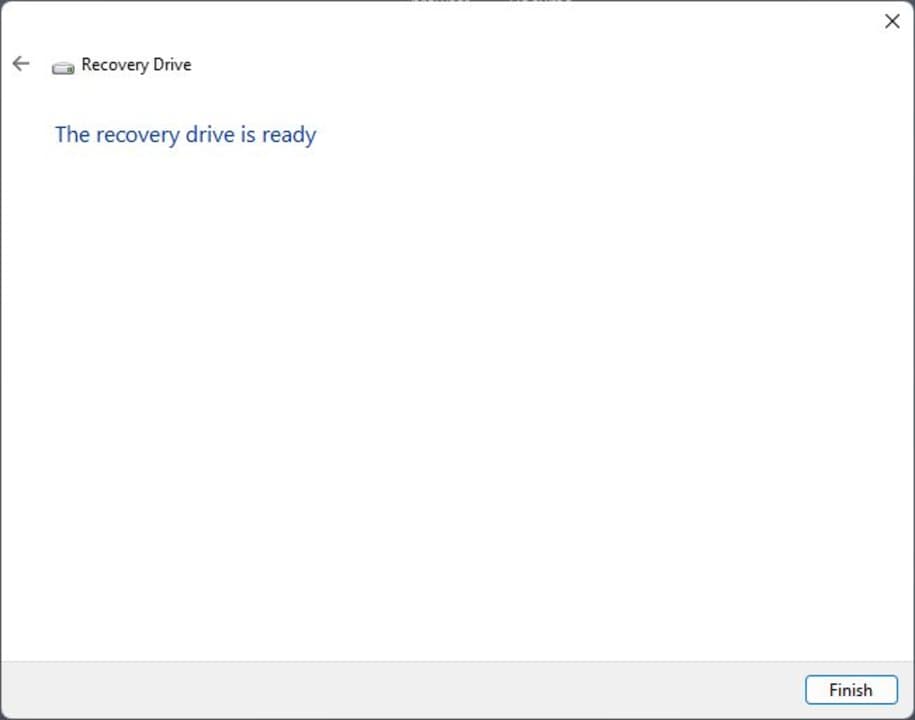
A “Recovery Drive is ready” completes the data transfer. Select the finish button to complete the process. Store the recovery drive in a safe location.
Using the Recovery Drive in the event of failure
Connect the recovery drive to the PC whenever you need to use it. The drive boots into advanced recovery options during system start; this gives you access to several recovery tools and options:
- Start-up Repair: Fix problems that keep Windows from loading.
- Uninstall Updates: Remove recently installed updates, which may be the cause of the issue.
- System Restore: Use a System Restore point to restore Windows.
- Command Prompt: Run recovery and troubleshooting commands from the command line.
- Start-Up Settings: Change the Windows startup behavior.
Other things to consider
Microsoft recommends creating recovery drives annually to include Windows updates and new feature updates. A good time for the creation of a recovery disk is after the installation of a new Windows 11 feature update, as it includes the latest changes in that case. The best time for the initial creation is right after the first start of the system.
Recovery drives add a new tool to the arsenal of a Windows 11 administrator. Some users prefer backups instead, which is a sound strategy. System backups include all data, which means that personal files are restored as well. However, it is necessary to run backup jobs regularly to include the latest changes. Most backup solutions support the scheduling of jobs.
On the other hand, files may be backed up using other means, for instance, by using file synchronization services such as Microsoft OneDrive.